After getting so many questions about freelensing I wrote a tutorial for Clickin Moms. I thought I would also share here for those of you who are not a member of the forum! PLEASE do not hesitate to ask me questions!
What is Freelensing?
Freelensing is when you detach your lens from your camera and hold it very close to the camera body to shoot.
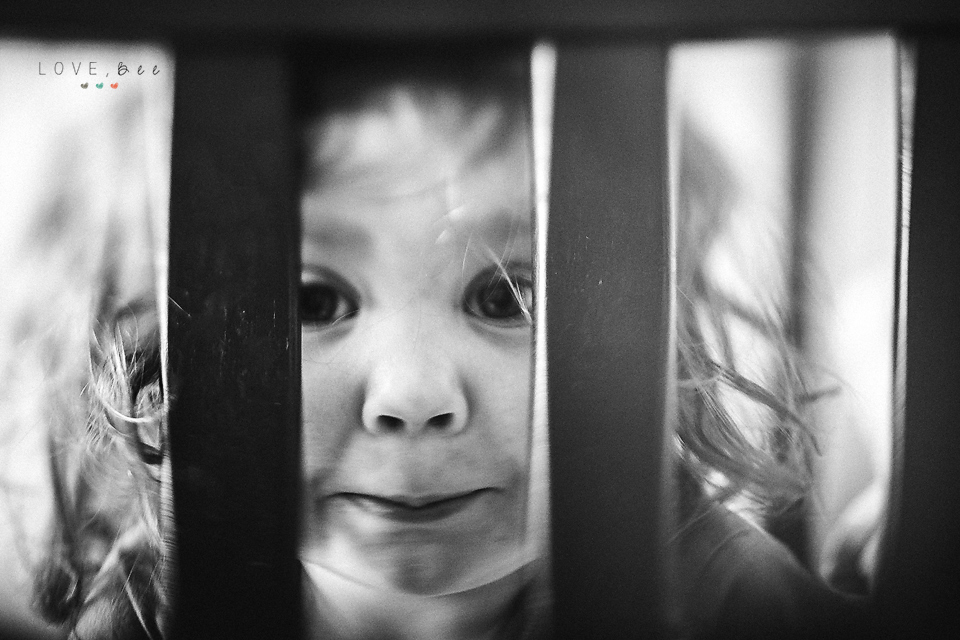
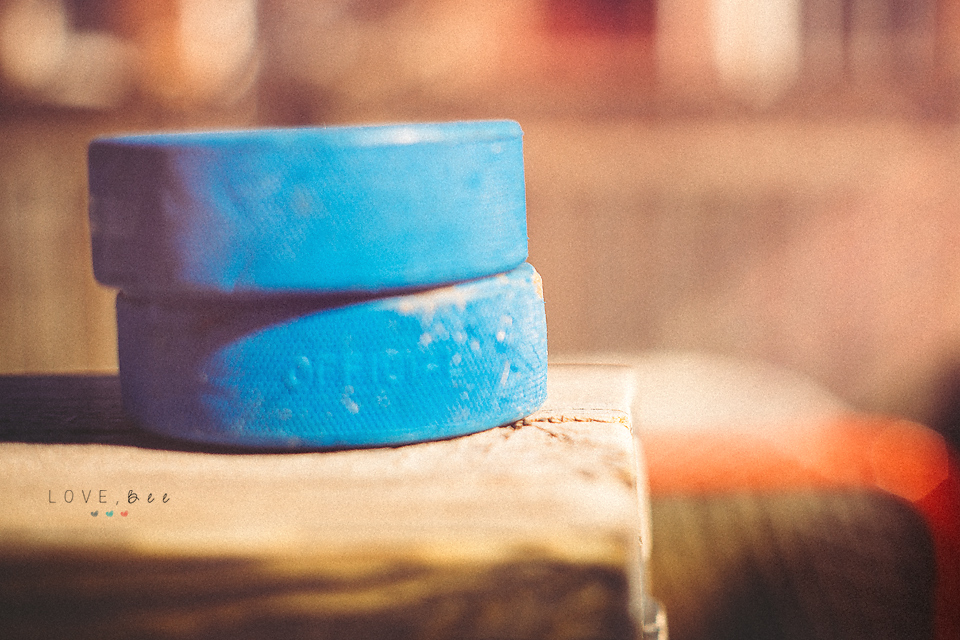
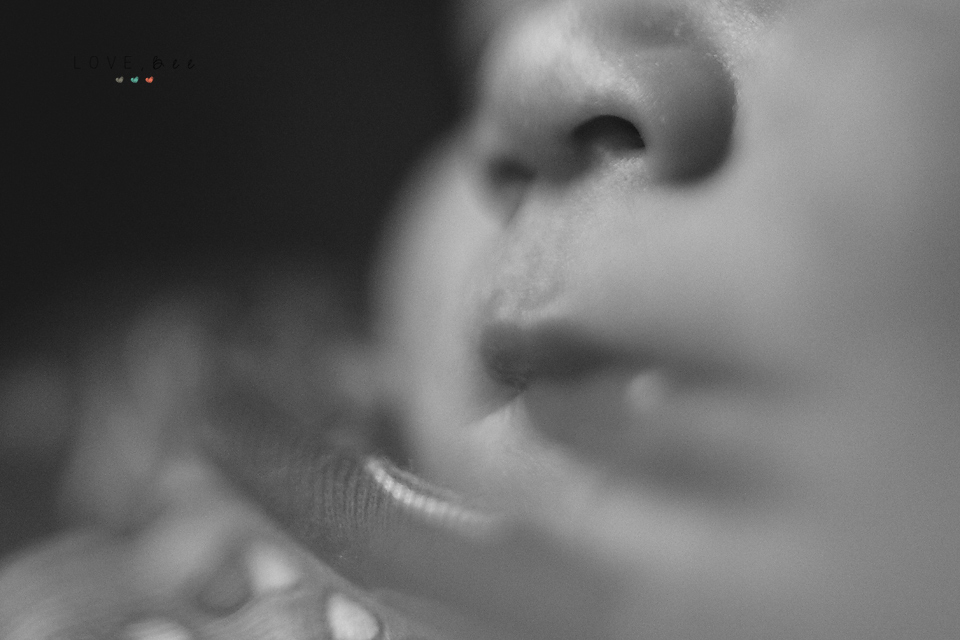
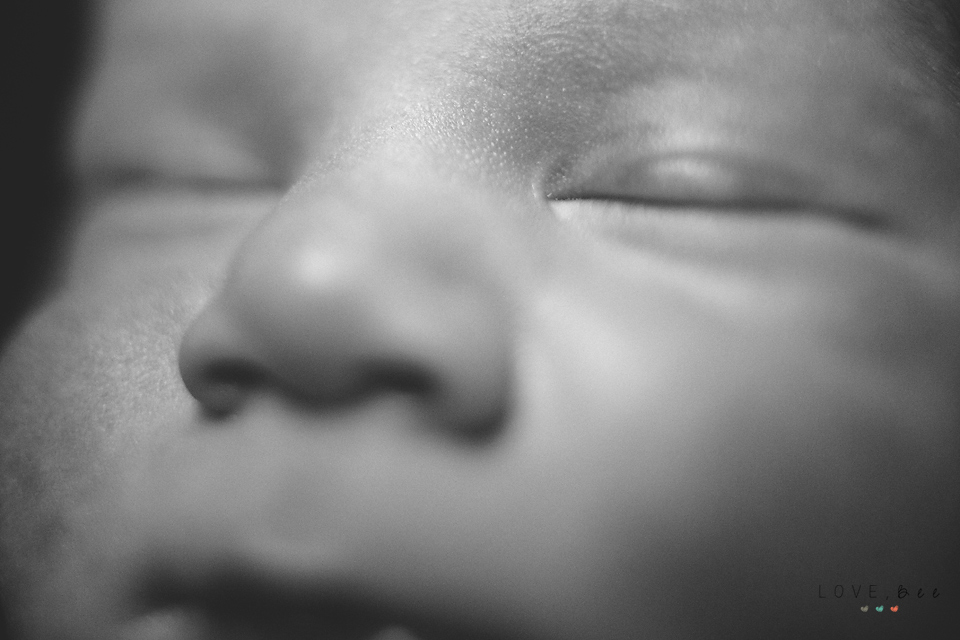
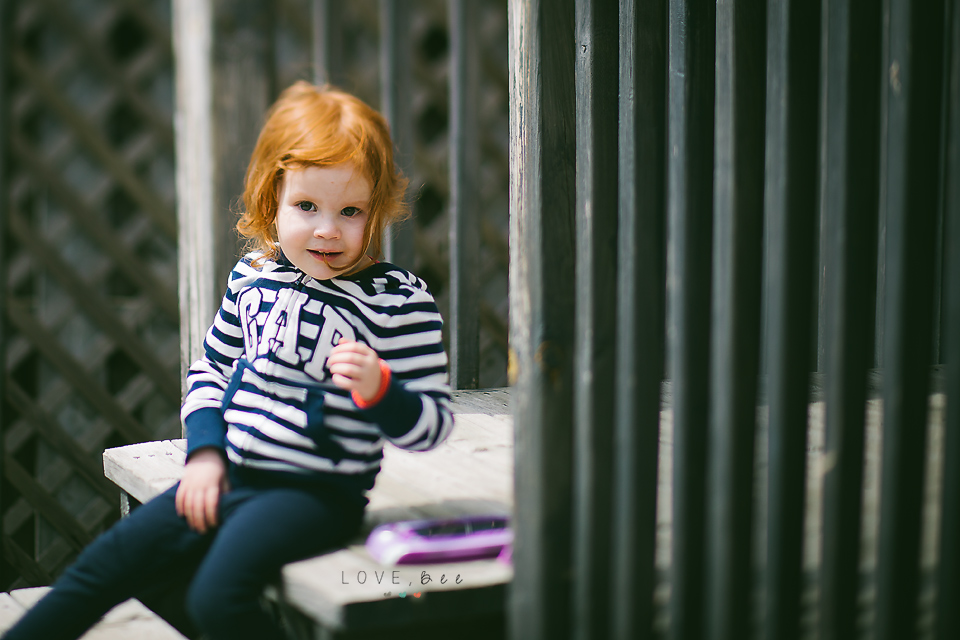
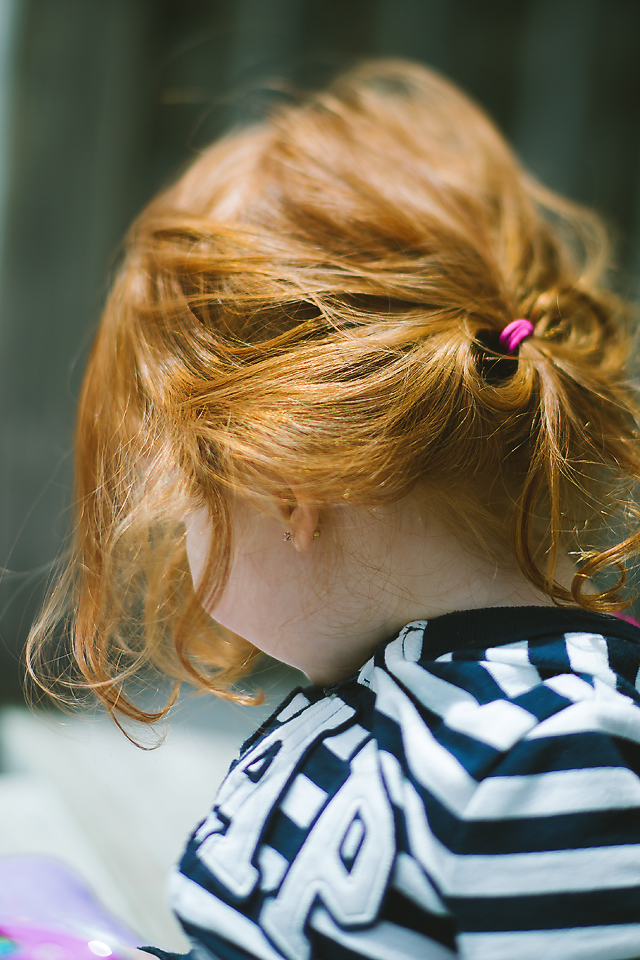
This will create a really cool tilt shift effect! You can also use freelensing to create some cool macro shots, night photography, intentional light leaks and blur, and more! (But those are for a different tutorial! )
This technique takes practice and if you are like me, you will try it a few times and get discouraged and give up.
DON'T! Keep practicing! Eventually I went back to it and am now IN LOVE with freelensing! Embrace the challenge and love the flaws!
To Start:
1. Select a lens. A good lens to start with is a 50mm. It is light and you may feel more comfortable holding onto it without dropping it! Anything wider than 50mm is tough to focus however I have gotten some great results from my 35mm!
I also love my 85mm for freelensing, it seems to be my lens of choice lately! it is heavier though so make sure you have a steady hand!
You can use a zoom lens as well but be careful as they tend to be heavy. If you use a zoom, make sure it is zoomed to the distance you want to shoot from, try 50mm to start!
2. Set your exposure and settings
It is easier to get the photo you want if you set your exposure before taking off your lens. Once you remove the lens, the auto exposure will not work. Set your ISO and shutter speed. Don't worry about your aperture as it will not matter once you take off the lens.
3. Change your lens to manual mode and set your focus to infinity (the little sideways "8" symbol. You can find it by turning your lens clockwise as far as it will go. TIP: if there is a little line beside your infinity symbol, make sure you are lined up with it! You may need to move your ring back slightly to line up correctly!
4. Take off your lens. (Make sure to turn off your camera before detaching the lens)
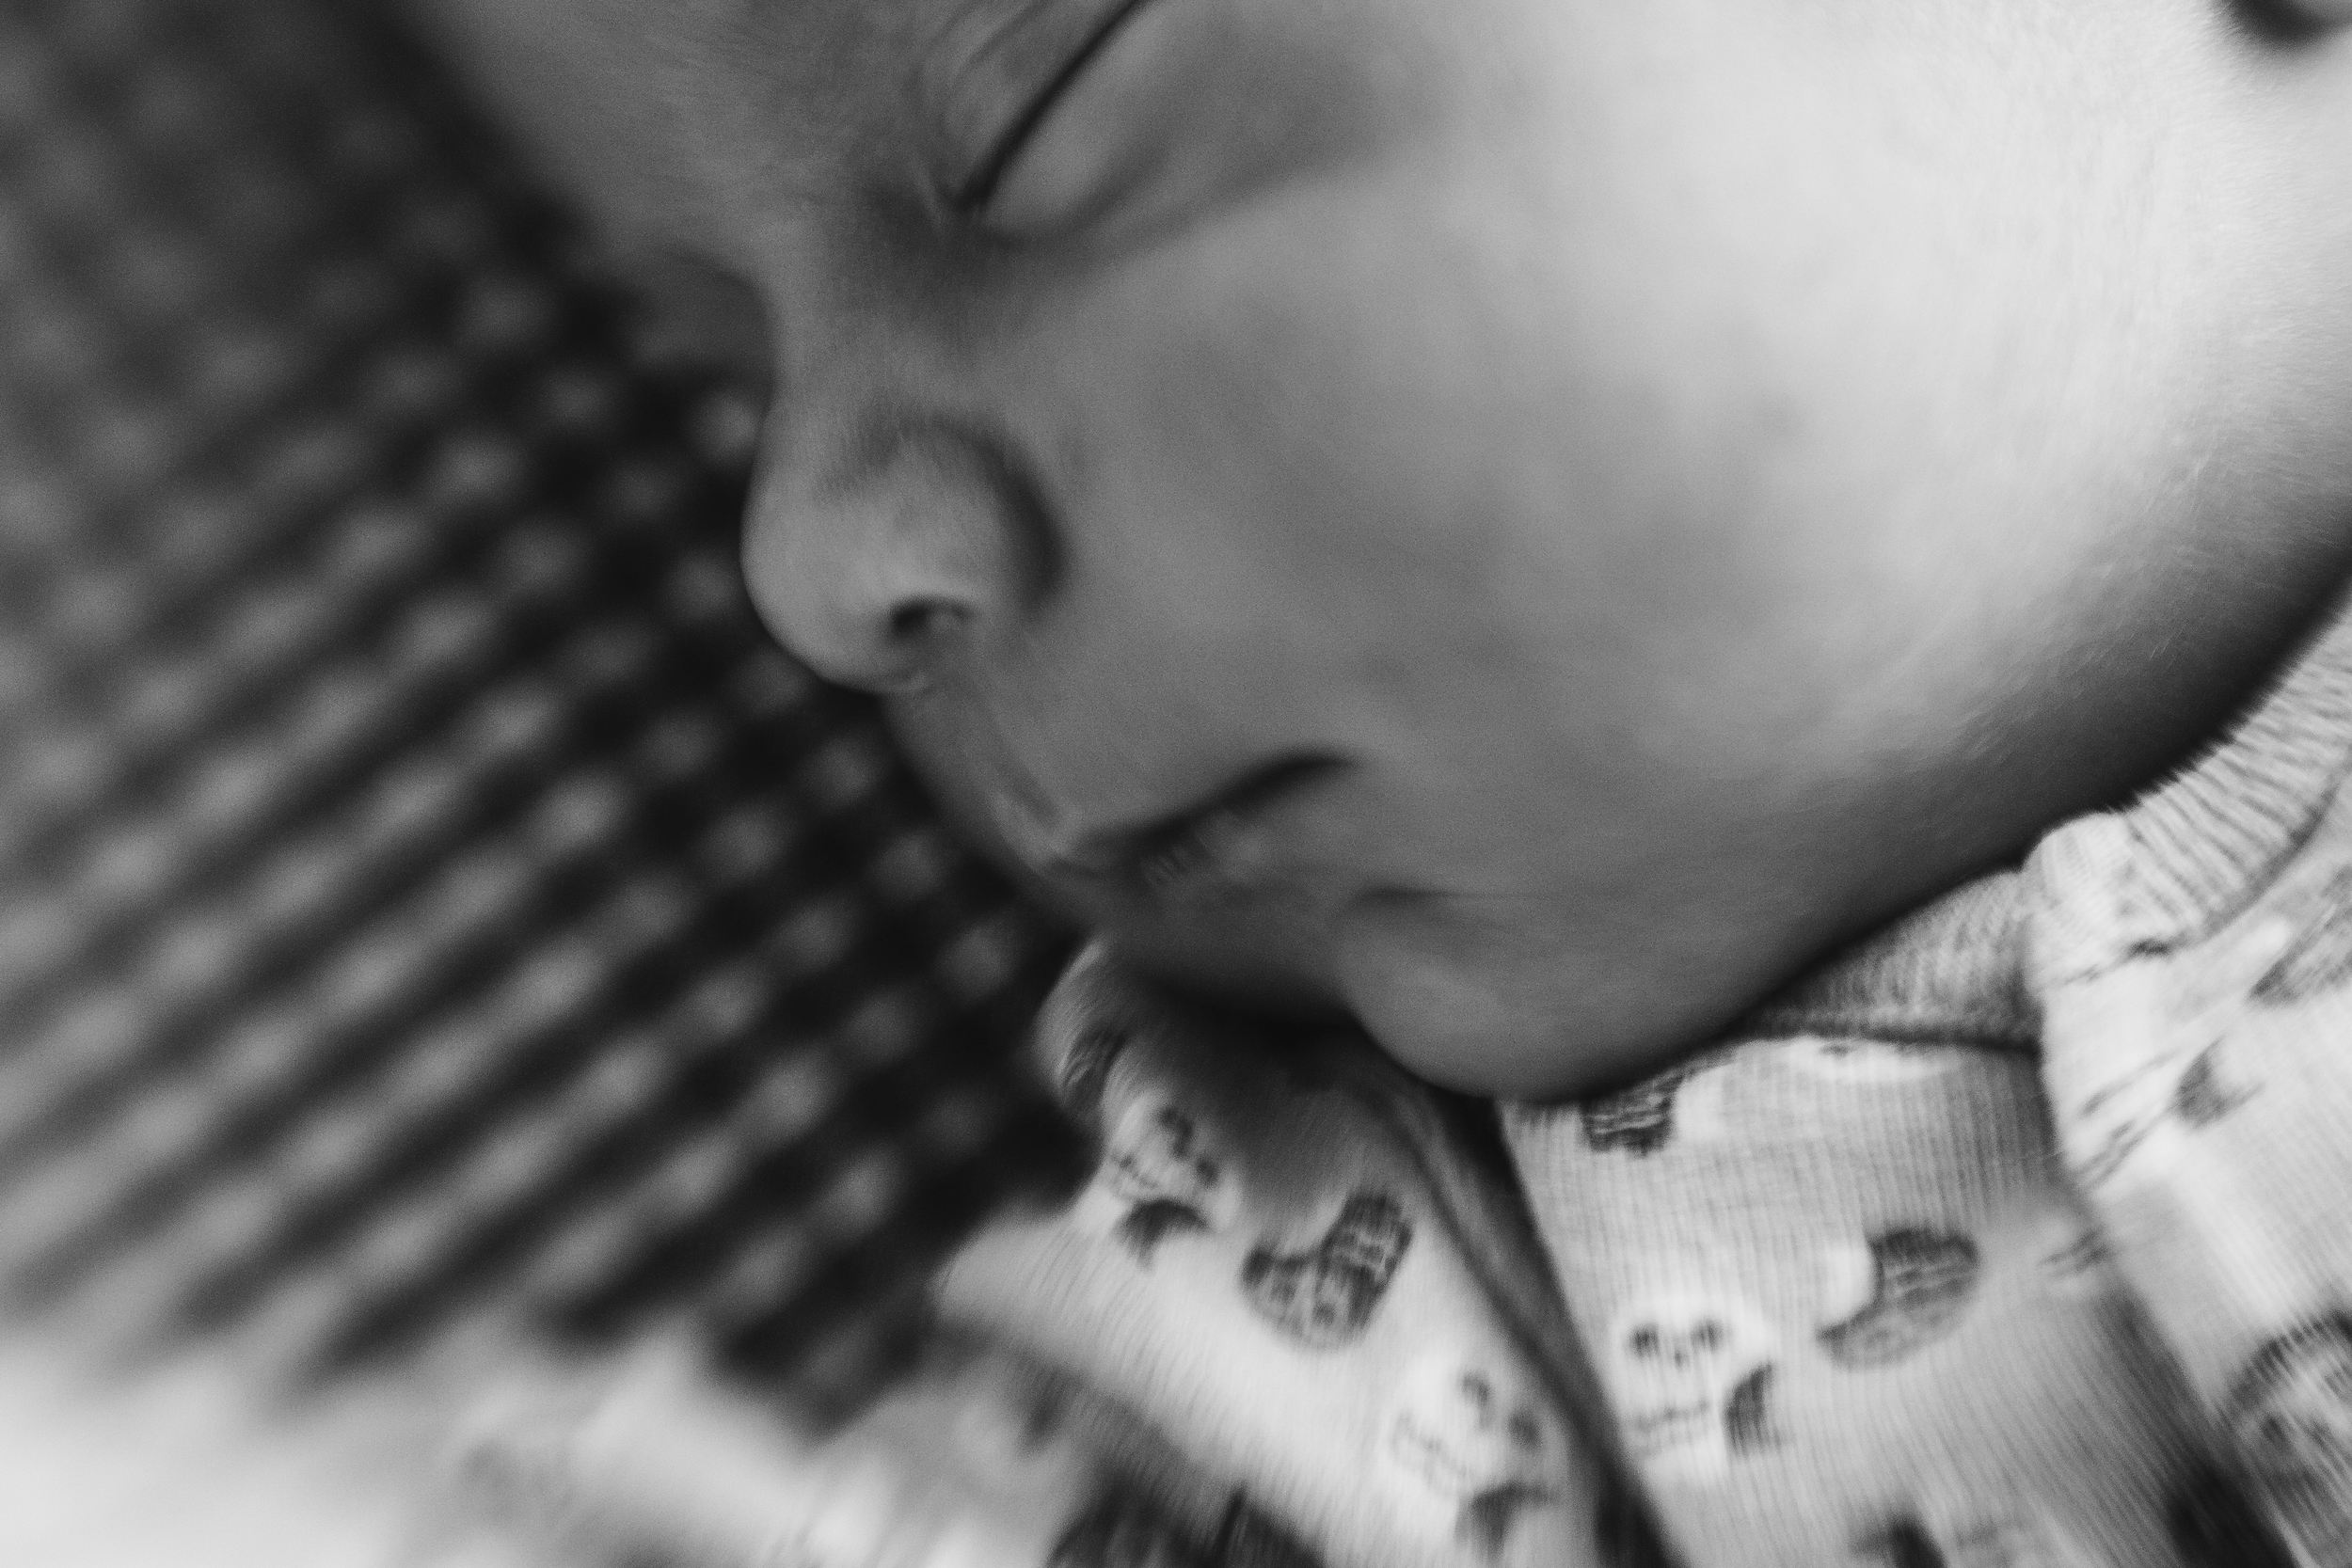
5. Start shooting by holding your lens in front of your camera. The distance from the camera will create different effects. The farther you move it, the more light leaks you will get.
I suggest starting really close and moving your lens slightly. Move it to the right or left and you will see blur on the edges. Same if you try to move it slightly up or down. You can create some really cool subtle effects by moving your lens only slightly!
Some tips:
- When you are first learning this techniques its best to learn in a controlled environment, like indoors. When you take your lens off the camera you do run the risk of getting dirt in the camera or on the the sensor. So don't try freelensing outdoors on a windy day or when dirt or dust is prevalent!
- Cup your hand around the base of the lens while holding it to prevent some dust or dirt from getting into to you camera.
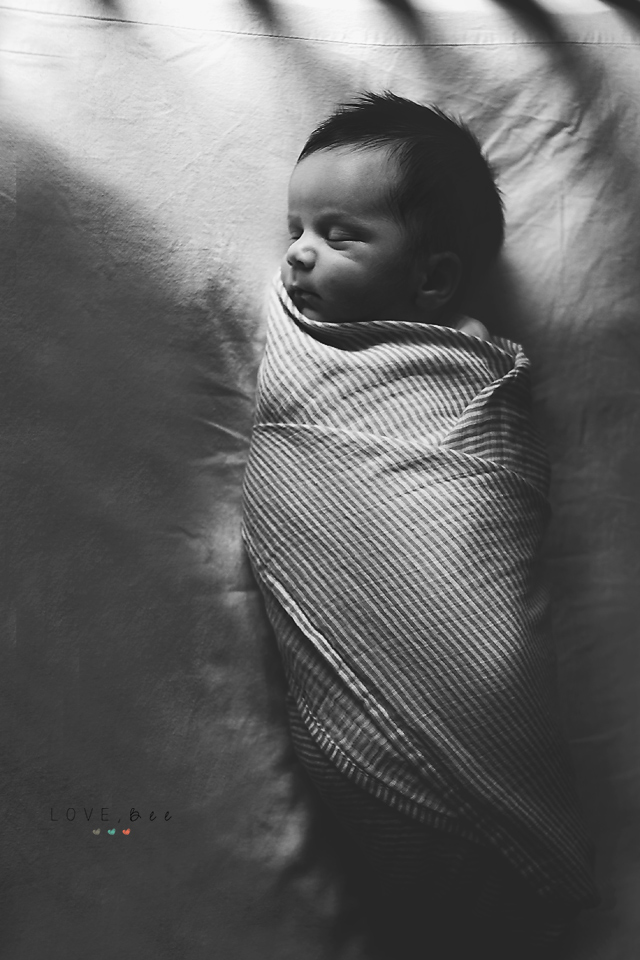
- Practice on a non moving subject! My newborn has been a great subject these days as he does not move too much yet! This will allow you to try different angles, and discover how much you need to move your lens to create the look you want. Getting focus on moving subjects is difficult and takes a lot of practice!
- Use the Live View function to help you see the focus
- Wear your neck strap!! You will be using two hands and do not want to drop your camera!
- One thing I find helpful is moving your body to find the focus spot, rather than trying to move your lens around too much!
Play around and have fun! The more you practice, the better you will get!
You will never create two images that are the same which is the beauty of freelensing! And you can get a cool tilt shift effect without spending thousands on a tilt shift lens! Have fun and embrace the light leaks and blur!
Freelensing is definitely a fun way to get out of a creative rut! Try it out!
I added some images to a slideshow to give you an idea. And note...for each of these shots, there were likely 10 that did not work!